Apr 13, 2009
Control LED by pressing button (digital input functions in AVR)
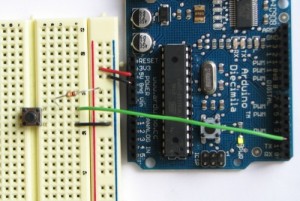
This post describes how to program Atmega8 on Arduino board using AVR-GCC. The program enable user to control a LED by pressing a button.
Components
- Arduino x 1
- USB cable x 1
- LED x 1
- Button x 1
- Resistor (10KR) x 1
Some new tips before programming. These are not mentioned in any post under AVR category.
_BV(bit) is defined in sfr_defs.h. It is included when you include avr/io.h.
#define _BV(bit) (1 << (bit))
This means that both following codes mean the same.
PORTB = _BV(PB5)|_BV(PB0);
PORTB = (1<<PB5)|(1<<PB0);
bit_is_clear() is avr-libc macro. It is also is defined in sfr_defs.h.
#define bit_is_clear(sfr, bit)
Test whether bit bit in IO register sfr is clear. This will return non-zero if the bit is clear, and a 0 if the bit is set.
Example code
#include <avr/io.h>
#include <util/delay.h>
int main(void) {
DDRB |= _BV(PB5);
DDRD &= ~(_BV(PD2));
for(;;){
// While Button is pressed, LED is on
if (bit_is_clear(PIND, PD2)) {
PORTB |= (1<<PB5); // put LED HIGH
} else {
PORTB &= ~(1<<PB5); // put LED LOW
}
}
return 0;
}

