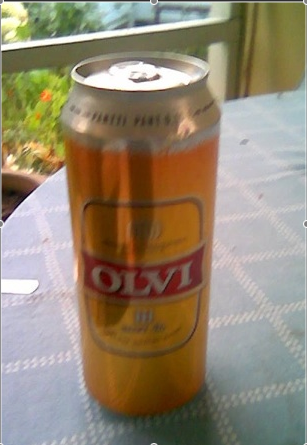
The working title of my project is I Can. This might be regarded as the can equivalent of I, Claudius, in the sense that it has something to do with I-dentity. The idea is to make a musical instrument out of a beer can and discover what its potential for sonic performance might be (er). If a performance is forthcoming, it will surely have something to do with the metaphor of ease vs. effort, i.e. the I Can constrasting with the I Cannot. In any case, the can will have to have some life of its own, otherwise it will not be its own I.
I would like to put a wireless Arduino inside, along with a battery box, some sensors and a servo motor to make the beer can shake (rhythmically?) on command from the remote computer. What sensors CAN I put inside? Perhaps touch, velocity, orientation, a microswitch to detect whether the ring cap is in place or lifted.
What sounds will I control with it? Maybe Offenbach’s Can-Can. OK, as yet I have no idea.
The programming of the beer belly to go with the instrument is another long term project. More on that when I know how many beers I had to drink before I found the ideal can for the prototype.
Wondering today about how new ways of communication, allowed by our present time technology, affect human identity transformation and construction in the net and how they can cause physical feeling and human energy perception to be lost or experienced in a new manner, nickname: persona project is an interactive audiovisual installation where people is obligated to act to make the piece possible and wants to make them wonder about the kind of relationship established between them and how they are showing their identity to the others;
The work would consist of taking data from visitors’ bodies by sensors, which would manipulate the sound and taking snapshots of their faces to build a new face with all of them. Sound and image would be streamed to a website.
Development (working plan):
During the following three month:
1. Make some tests with sensors to experience the kind of data that we can receive from the human body and decide the kind of relation that it can be established between them and the sound of the installation.
2. Make some test about the disposition of the sensors and how the visitor must use them.
3. Decide the shape of the presentation of this part of the project and also the whole project output.
Technical solutions:
Sensors (undefined)
Arduino
Max/MSP
Questions:
Are there some sensors that I could test before buying them? I’m interested in blood pressure, body temperature, sweat, heat beating, nervous system… any other ideas?
Sep 23, 2007Comments Off on Sound visualization using fire.
At the beginning me and Linus Roune both had a go at controlling Servos with some sort of data we would get form a sensor. Linus got into some heavy stuff with Arduino I went to look for solution using Basic Stamp.
The servos we had were Parallax (Futaba) Servos so hooking them with Basic Stamp was easy, and I found the code on the web. What I didn’t pay attention to was the difference between Standard and Continuous Rotation type of servo.
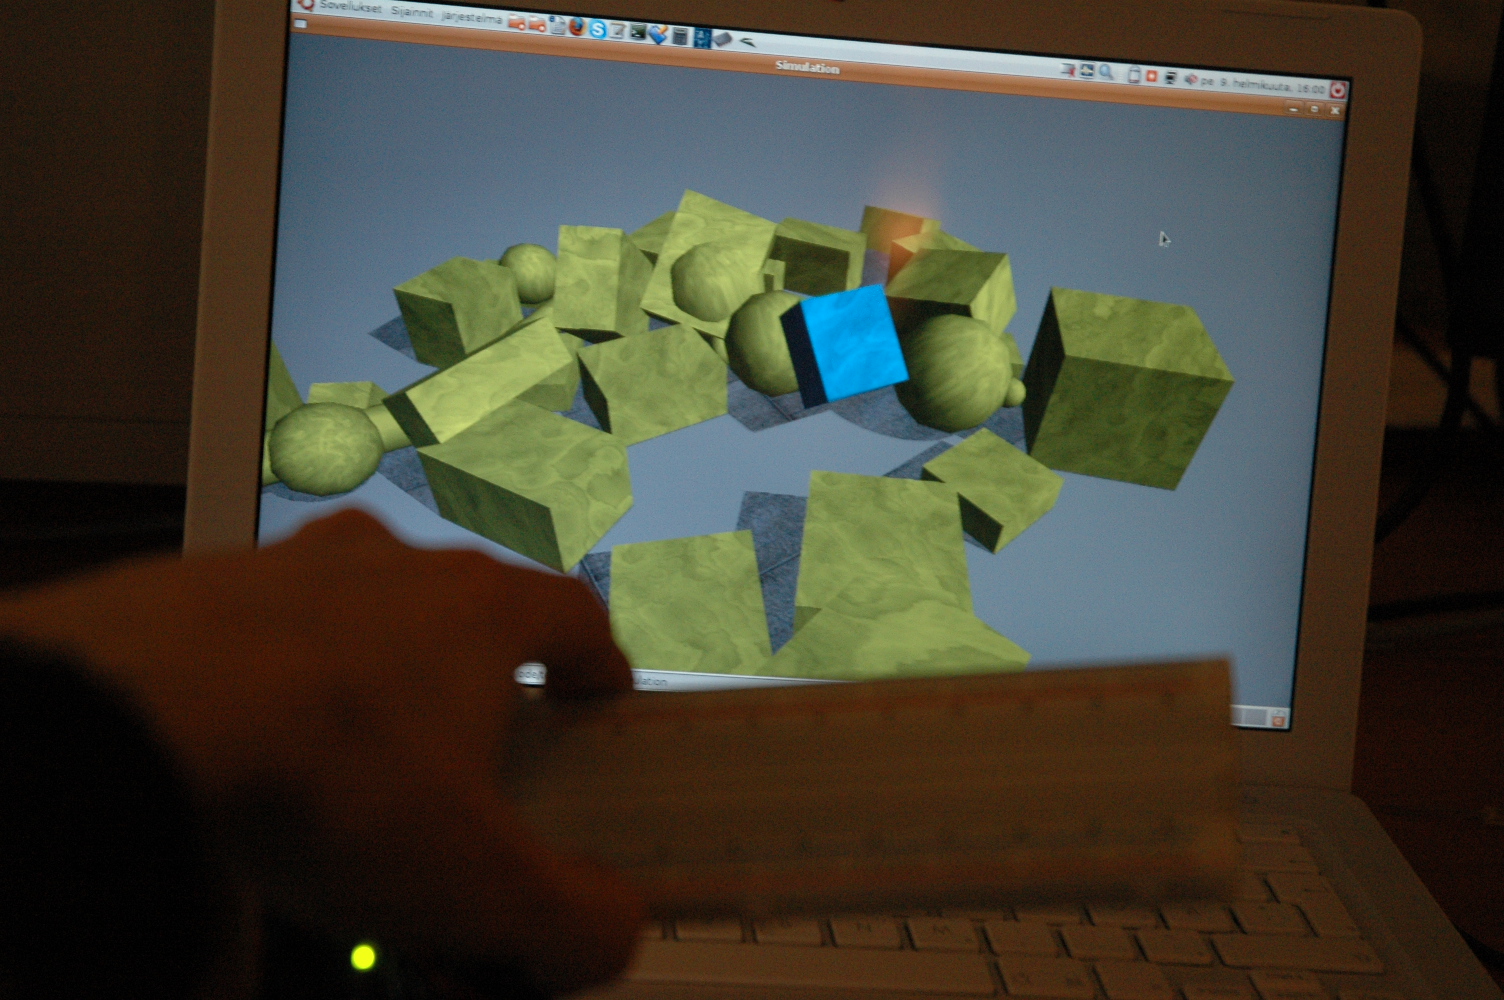
There are several sets of images. The value from touchsensor decides which set of images play in Director. With potentiometer, user can control the speed of rolling images.
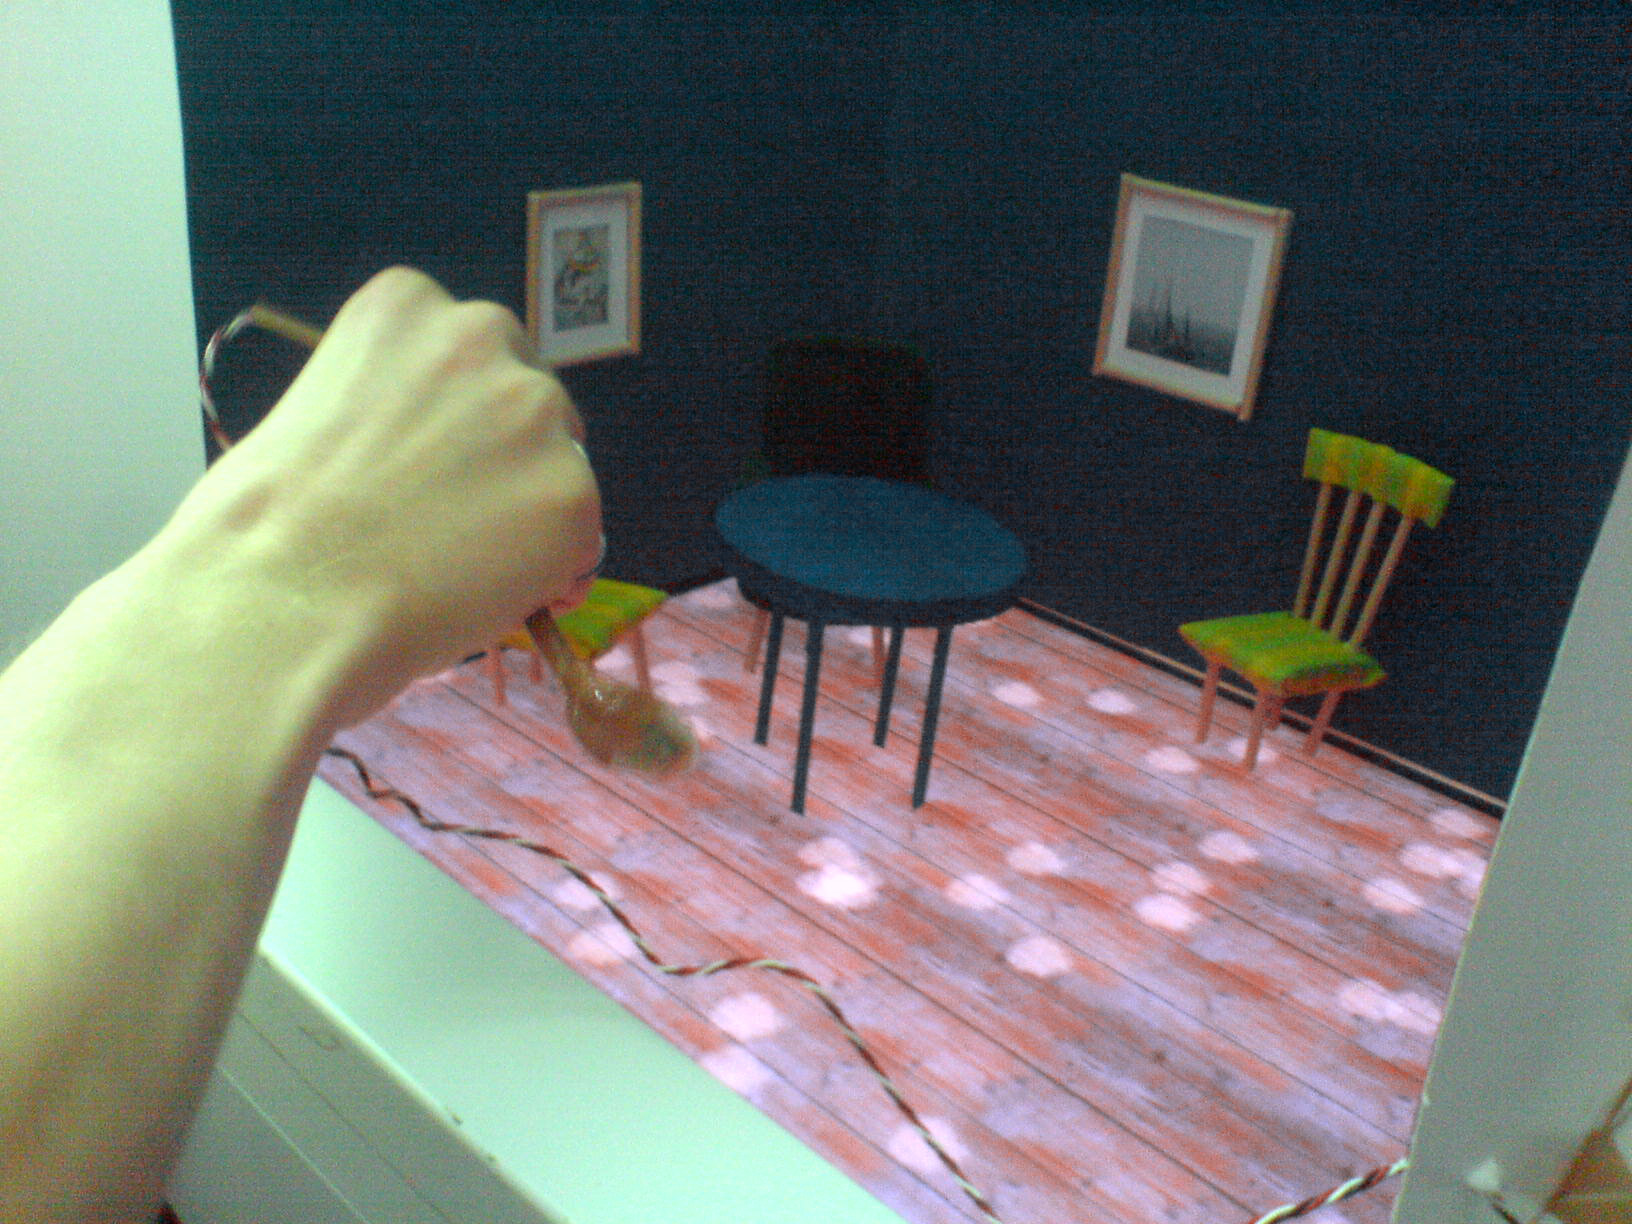
This is an educational work where children (and adults) can learn how to clean a floor with a vacuum cleaner. Inside the vacuum cleaner is a light sensor connected to Arduino-microcontroller, which is connected to Processing-software. The light sensor recognized white spots from the floor (made out of a computer display) and cleans it if one is fast enough, if not the spot get stuck.
It is possible to make Arduino and Pure Data communicate with each other so that one doesn’t have to program Arduino with it’s own programming language (which is called Arduino).
The Arduino (build 0007) analogue output pins (PWM 9-11) have a frequency of approximately 30769 Hz. According to the Parallax documentation (http://www.parallax.com/dl/docs/books/edu/roboticsservomod.pdf) the low time for a pulse train can be between 20-40ms which means that the Arduino pulse is in the range. However, to be consistent with the BS board the frequency can be lowered by the following code =>
Basic idea is to ask quenstions from usen and whether the answer is right – green led will light up or if the answers wrong – red led will light up. It also counts the amount of right answers. It’s easy to continue quiz with further questions since right now there’s only one.
You can use Parallax RFID reader module to identify object from a large set by hiding RFID card inside it. Basically reader has two signal pins, one out and one in. First is used to enable/disable reading, second is used for reading the card identification number.
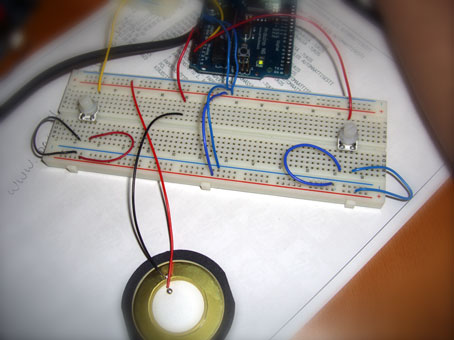
Description: This program calculates the love-potential between two people 🙂 Two touchsensors are connected to Arduino. When they are touched, the running program measures the values of the pressure-intensity during 5sec. The maximun and minimum of the measured values are saved to variables. Each second during the 5sec, the program adds the (Max – min) to a TotalSum and resets max and min. After the 5th sec. a function drawHeart is called which creates a heart on the screen calculating the size according to the TotalSum values we obtained. Got it? 🙂
Material/Software:
Arduino microcontroller & IDE Processing IDE
Flash
2 x Flexiforce touchsensor
Code/Files: Arduino/Processor/Flash-files (flash server connection and processing code by Aleksi Hyvönen and Viljo Malmberg)
This is not a very meaningful interaction, but I was playing with different in- and outputs and transferring information from one source to another.
I connected a 7-digit display to Arduino and made it display random numbers from 1 to 9.
Then I added the slidelong-touchsensor in order to create the random numbers.
Additionally I connected a potentiometer, which determines the speed of the display. You need a resistor for the display, otherwise it gets to hot.
Creating the numbers:
In your code have to define which LED goes to which input. I gave each LED a number from one to seven and created an array, which contains the binary codes of each number I want to display (see photo). For example number 1 is LED 1 off, LED 2 on, LED 3 on, LED 4, LED 5, LED 6, LED 7 off (in binary: 0110000). More info in the code.
Analog input: The slidelong-touchsensor gives number from 0 on one side to 1024 on the other side, depending how you connect 5V and GND.
The potentiometer gives as well numbers from 0 to 1024.


